A few years, we paid some landscapers to do some work on our back yard; they did a nice paver patio and walkways, evened out the slope, and re-sodded the now elevated lawn.
There were, however, a few issues.
They used big landscaping blocks for the back of the beds, so there wasn’t much space for the plants in the beds, nor was there enough height to have a reasonable amount of soil, nor was there a barrier to contain the mulch. So, they didn’t work as well as beds.
And all we had was beds, so the yard wasn’t very interesting.
Oh, and we had one more issue; the decent back fence we put up was now about 12” below the current grade, which is just weird.
This summer, we are finally getting around to fixing those issues; this is partly to realize the design we had our landscape architect do, and partly to add in the things that we wanted. I’m too lazy to find the real before pics, so you’ll need to settle for “early in the process pictures”.
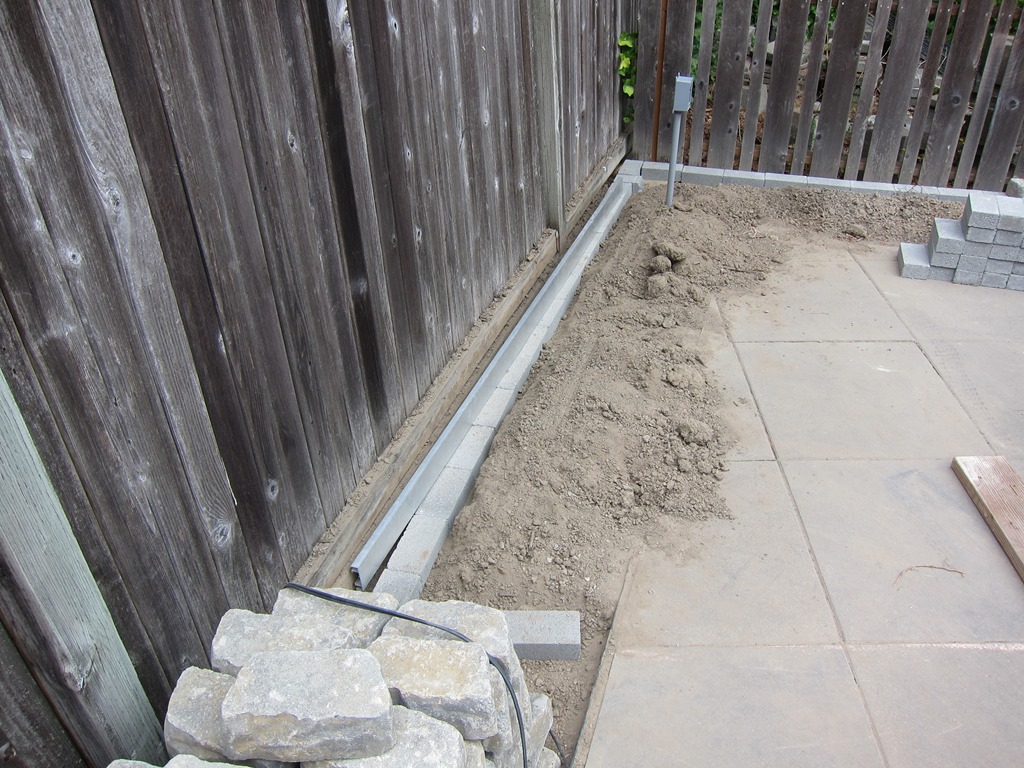
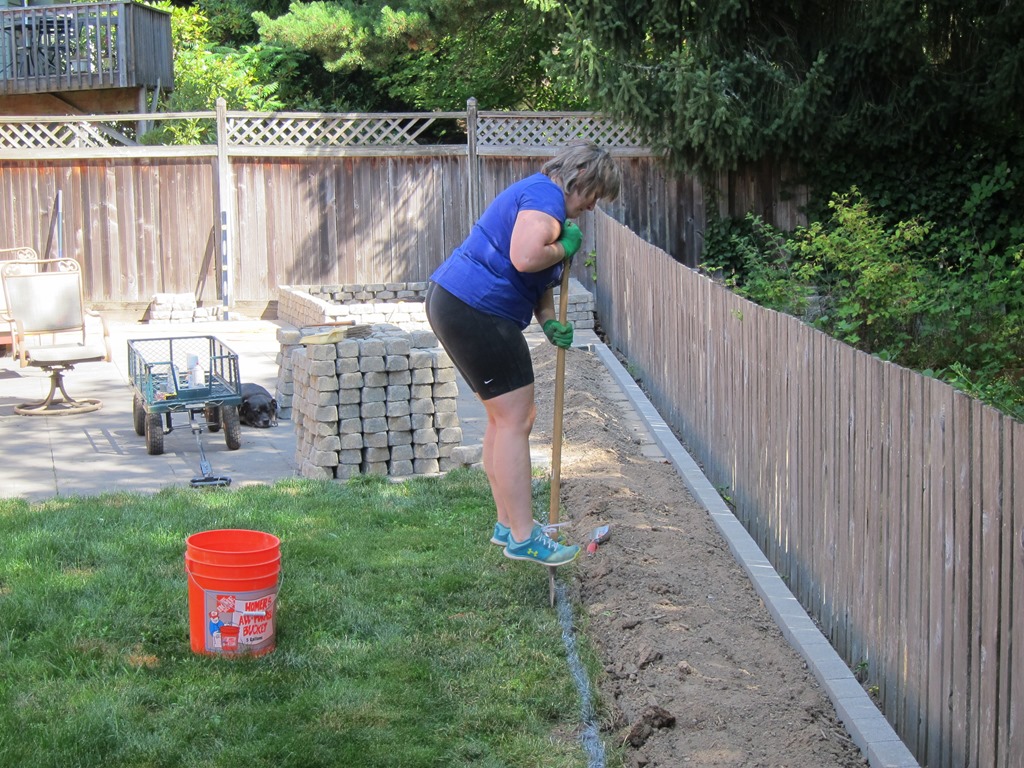
This one shows the lovely back planting bed and the weird fence. Careful observers may be able to see some of the blocks we are using in this picture. The concrete bricks on the back are to deal with a level problem; the pavers are about 2” higher than the row of blocks that make up the back edge, so the 2 1/4” thick grey pavers make up the difference. They will not show in the completed project, so we went with the cheapest ones we could find.
I don’t have any pictures of moving blocks; suffice it to say I moved 700 blocks @ 8 pounds each, or 5600 lbs of blocks from the driveway down the hill into the back. And 240 of the bricks.
Here’s a rough drawing of what we’re aiming for:
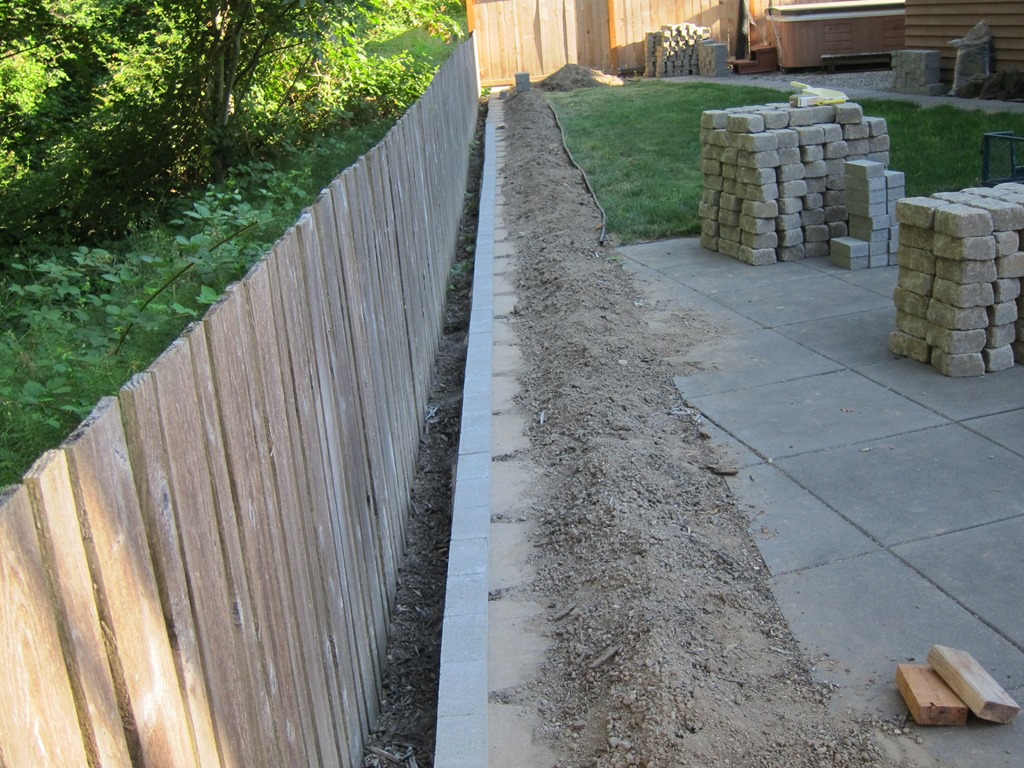
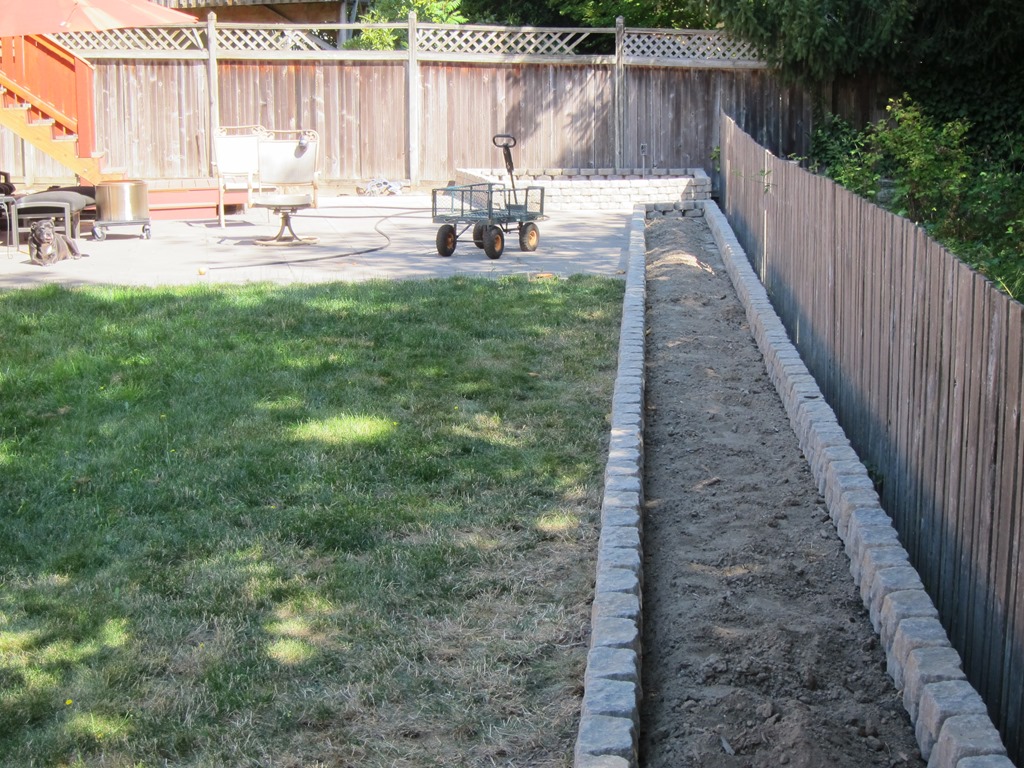
On the left side the big bed will partly cover the corner of the patio and partly be in the dirt. that required me to get a nice line of concrete bricks for the blocks to set on. It looks like this:
I’ll talk more about how I achieved that soon.
And then it’s merely a matter of laying the blocks out where you want them, and a small bit of block cutting with a 7” angle grinder and a masonry wheel. It looks like this:
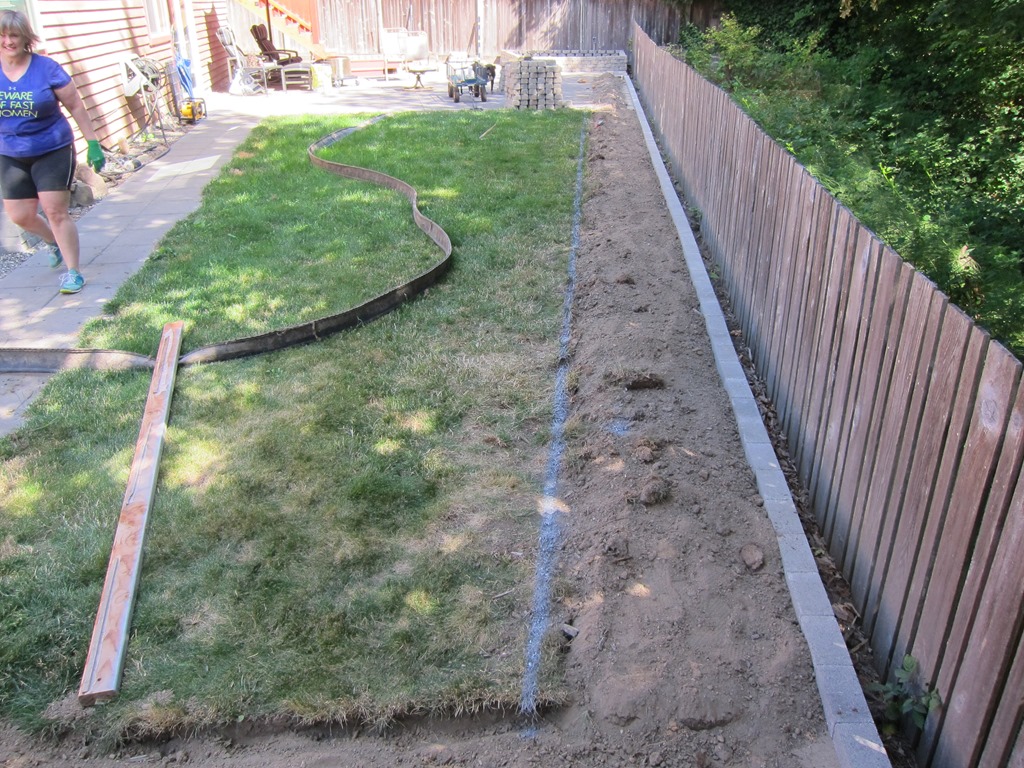
Over to the big bed. We need to cut the grass back a bit for the bricks to fit. The front of the bed is measured from the bricks next to the fence, an old 2×4 is used as an edge, and a line was painted in the grass.
The project lead spent a few minutes cutting the grass away.
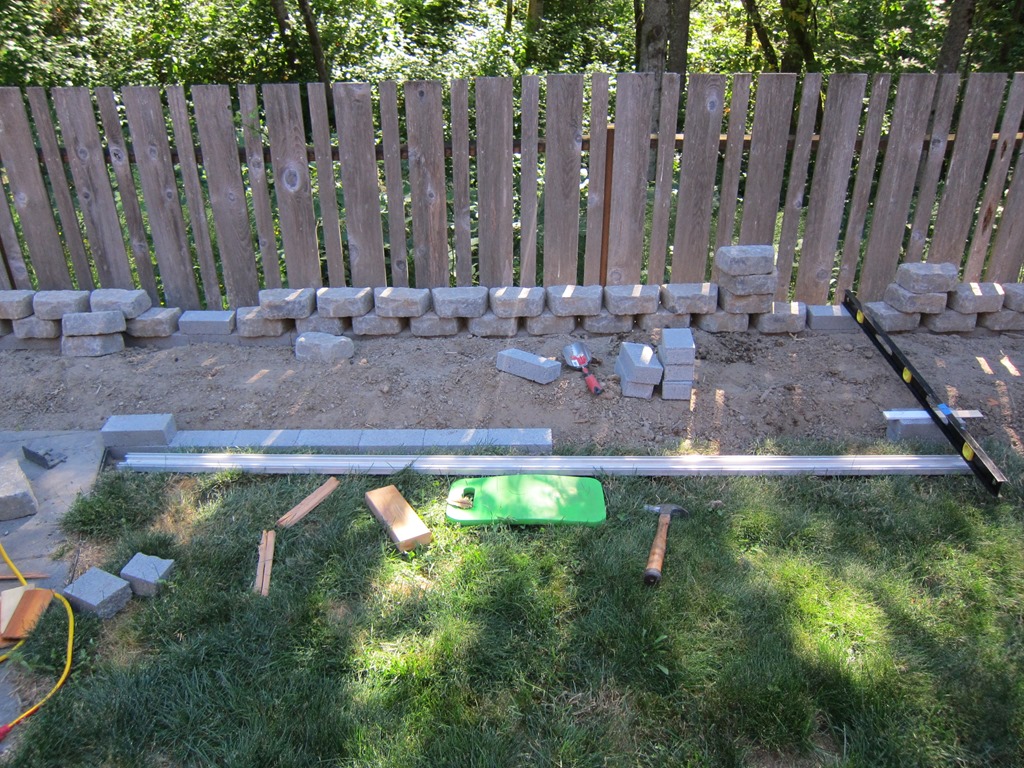
Then it’s time to set the bricks. The appearance of the final wall will depend highly on how well the bricks are set; the top of each brick needs to be in the right location (x & y), the right height (z), and also be in the right plane left to right and front to back. Here’s how I did it:
The block on the far left is set to be planar with the patio and the right distance from the extra block on the back. That is one reference.
The second reference is on the right. That stack of two blocks is adjusted so the front face is the right distance from the back block, level to the back block at both the left and right ends. And then the top of the block needs to be planar with the bottom of the level and the long straight edge sitting on the left block. That takes a few iterations to get right, so 10-15 minutes to get a guide block in.
And – because they need to stay in those positions – each block has to be beaten in place with a hammer and a block of wood to compress the soil underneath.
Once the reference is, then it’s merely a matter of placing each block and using the straight edge to make sure it is where it needs to be. Along the whole length most of the bricks are less than 1/16th off on any dimension. Yes, that’s probably overkill, but getting them to 1/16th isn’t much harder than getting them to 1/8th, and it makes the landscape blocks sit much better.
There’s about 40’ of blocks to set along that bed plus another set around the right planter. So, it took quite a bit of time – probably 6 hours just on that part. But, eventually, you get them all done, you can put the landscape block on top, and you end up with a bed that looks like this:
Which is honestly pretty damn straight.
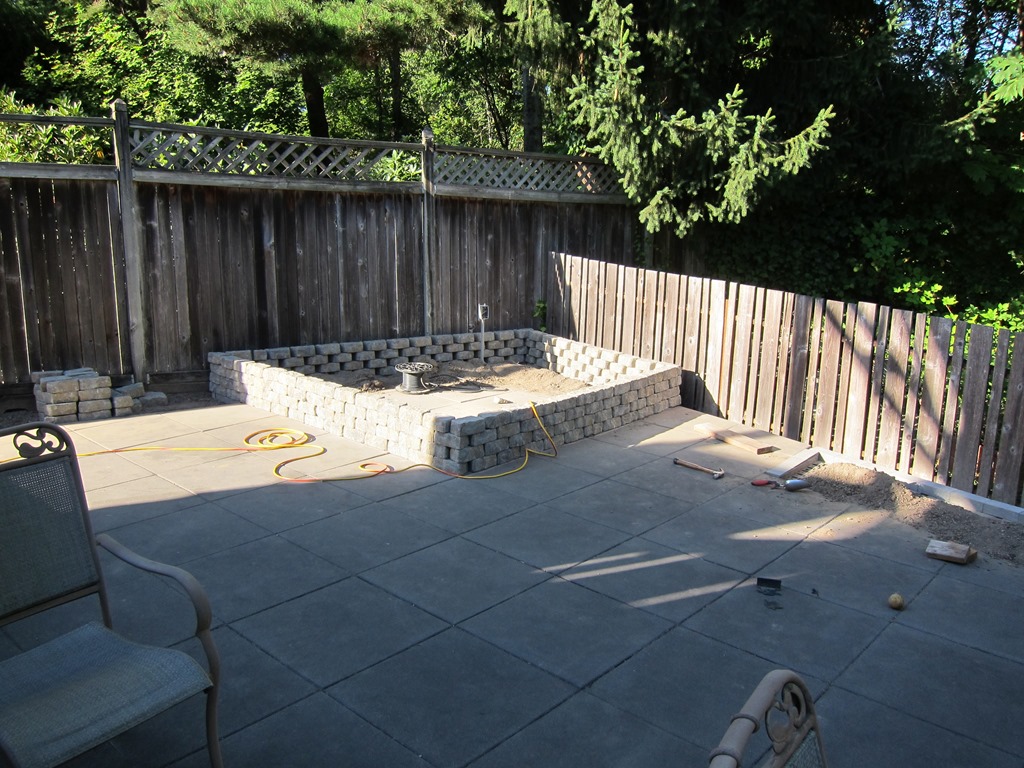
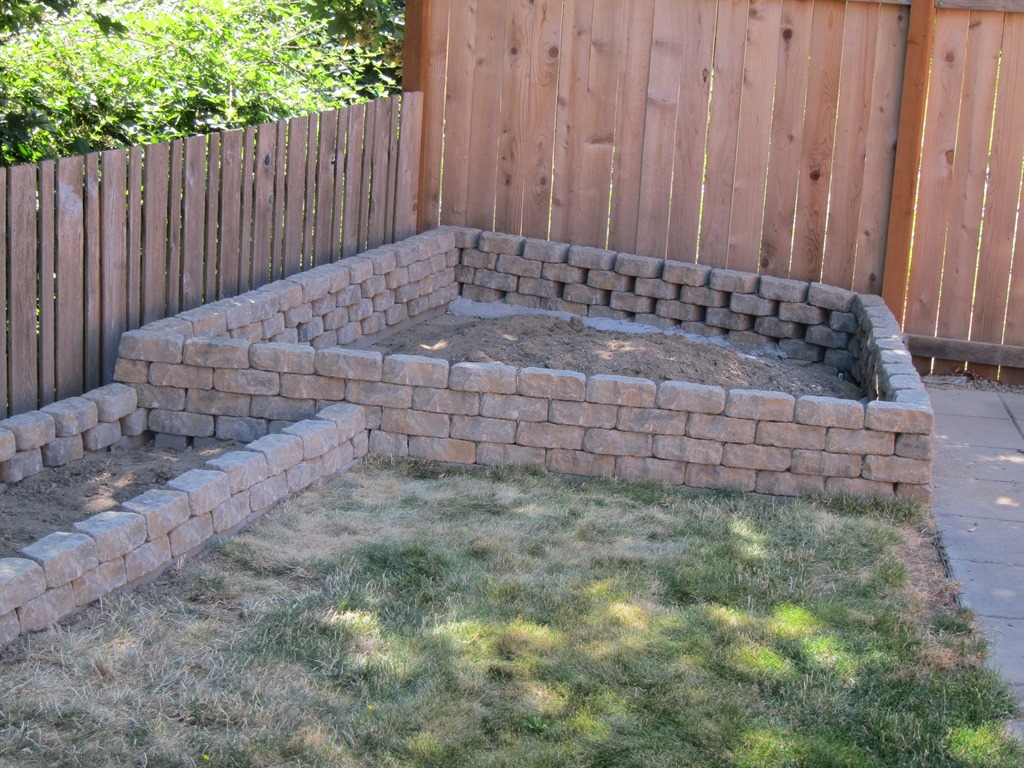
Which takes us to the right corner bed:
I’d like you to pay attention to how nicely the back bed and the corner bed blocks are woven together. And I’d like you to ignore the wall next to the fence.
We basically had a problem; the blocks the landscapers put in on the fence side are higher than those along the back, so we needed to adjust. I ended up doing the whole bottom row in mortar so I could deal with the 2” difference across the thickness. It came out okay.
The day after I dog that done, I realized that the right thing to do was to put the blocks on that wall flat without bricks, and then taper from a brick down to nothing along the *back* wall next to the fence. That is the proper thing to do and I have another bag of mortar, but the project lead assures me that nobody will notice once we get the bed planted. If we need to redo it later, it will be simpler.
That’s the current state.
The future will bring soil, drip irrigation (partly in; you can see a connector in the last picture if you look closely), landscape lighting, mulch, and plants.
The fence will be elevated to be a bit higher and moved closer to the blocks. The mysterious art will be installed.
And if you think that this project wouldn’t include some custom electronics, then you don’t know me very well…


So, what do you think ?