A quick little project that I knocked out in a couple of hours today…
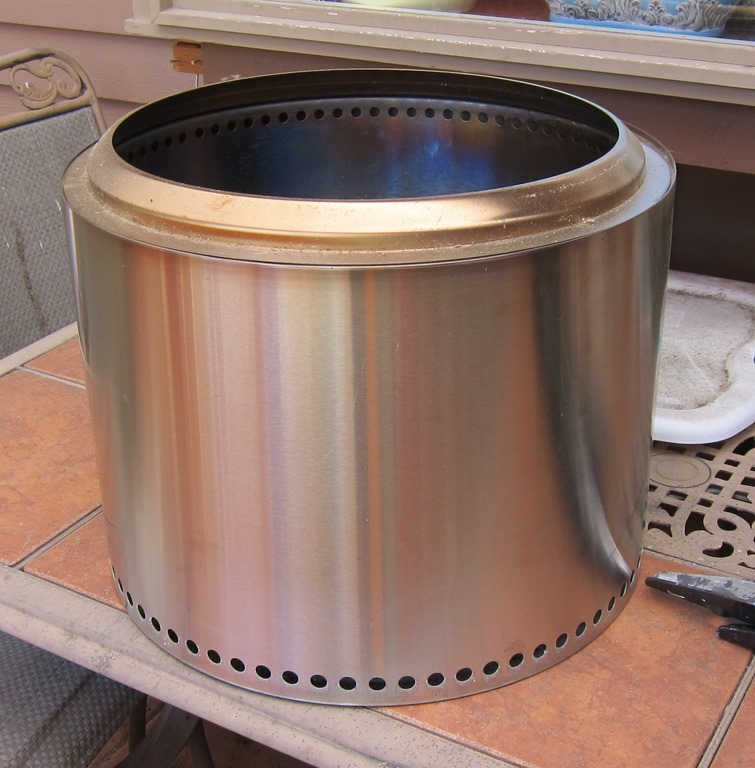
My wife an I own a Solo Stove Bonfire. And yes, it does work every bit as well as they say.
The problem is the somewhat fickle Seattle weather; we might have a fire and then the firepit would sit outside and get rained on. It’s stainless so it’s supposed to not corrode, but there are a still a few issues. The obvious thing is to put it under cover when you are done, but it’s really really hot and I’m quite lazy.
A few days ago, I came up with a plan. I will start with the Solo Stove:
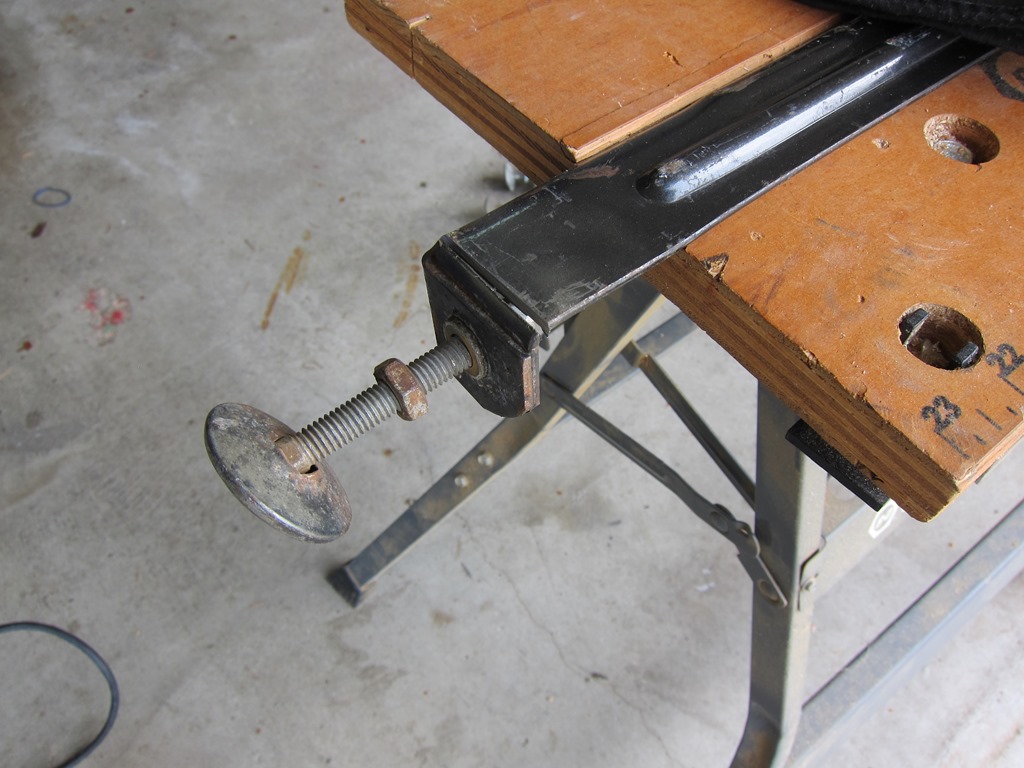
My original plan was to buy some angle iron to make a frame, but walking around I found an alternative material:
Four pinball legs that I got with the World Cup Soccer ‘94 that I bought last fall, since replaced with pretty new ones. These legs were just waiting to head to the dump.
and four leftover casters from my Glowforge table project. I didn’t take a picture of them.
Leg modifications
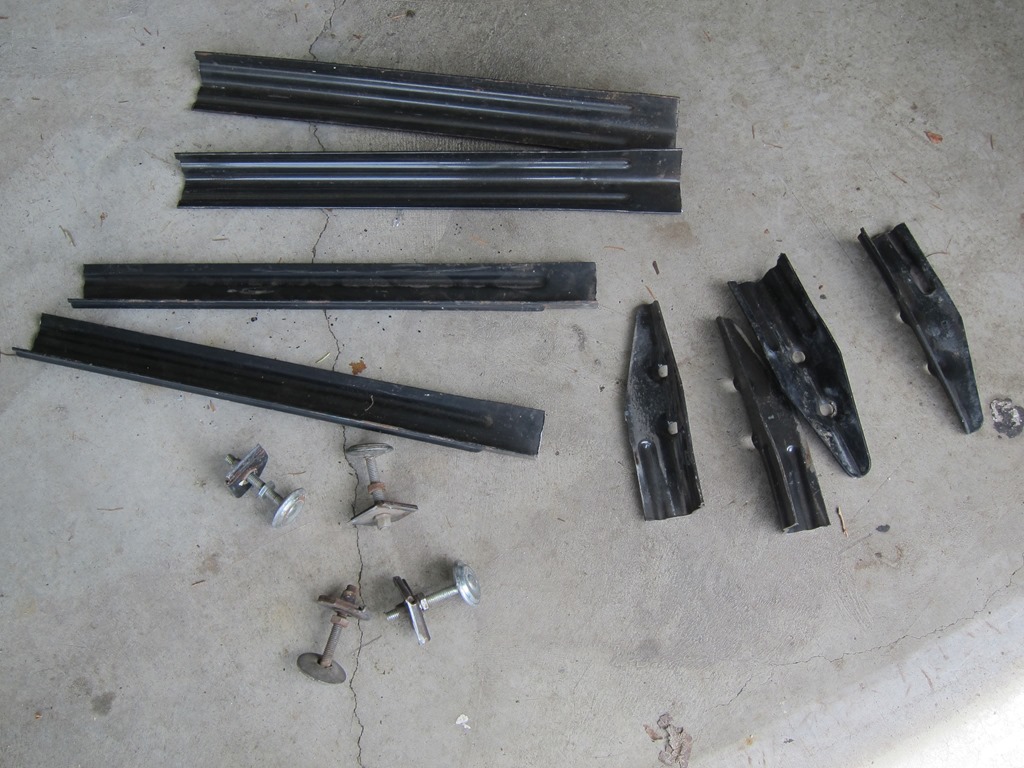
The legs need to be converted from their current form into something more like angle iron. The first step is to cut off the feet. Out comes the 4” angle grinder, on goes the accessory handle and a 4” metal cutting disk, and the feet are cut off.
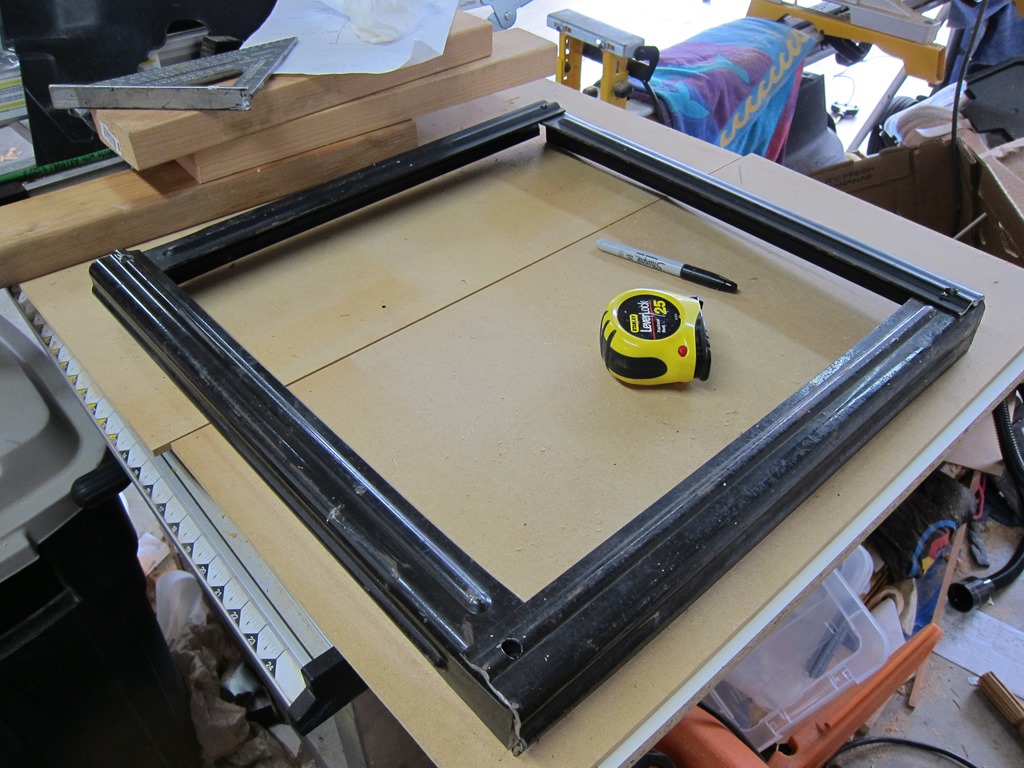
The process is repeated at the other end to cut off the mounting holes. The length is based upon the diameter of the solo stove, which is 19.25”. After a few minutes of cutting and a lot of sparks, we end up with the following:
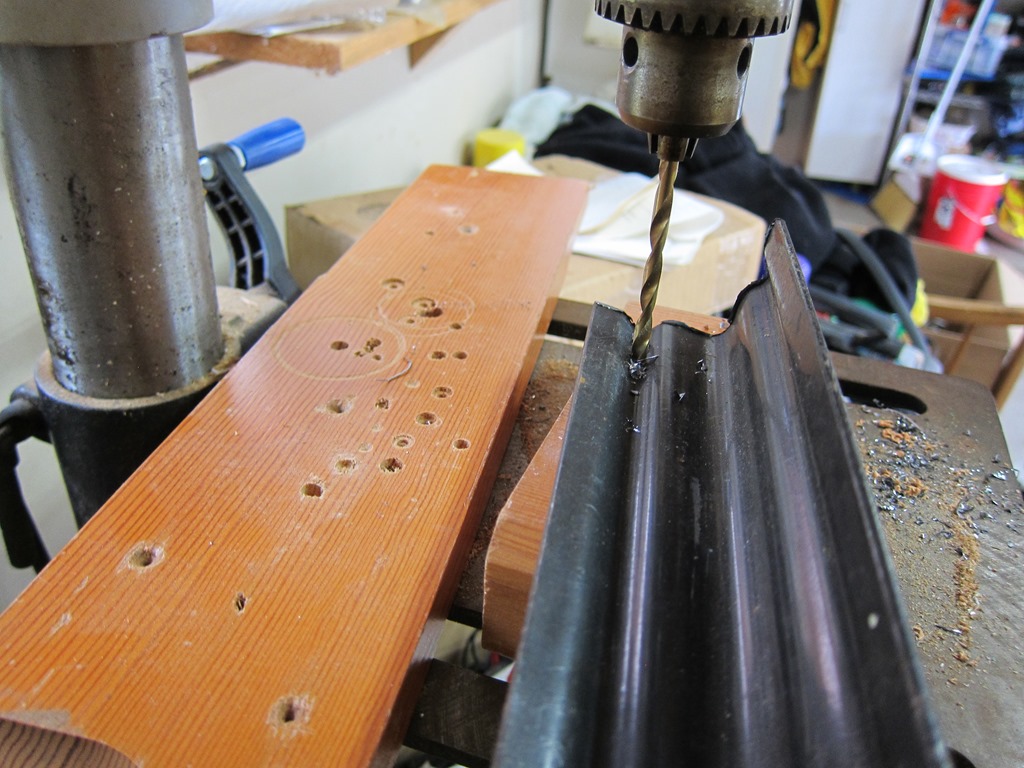
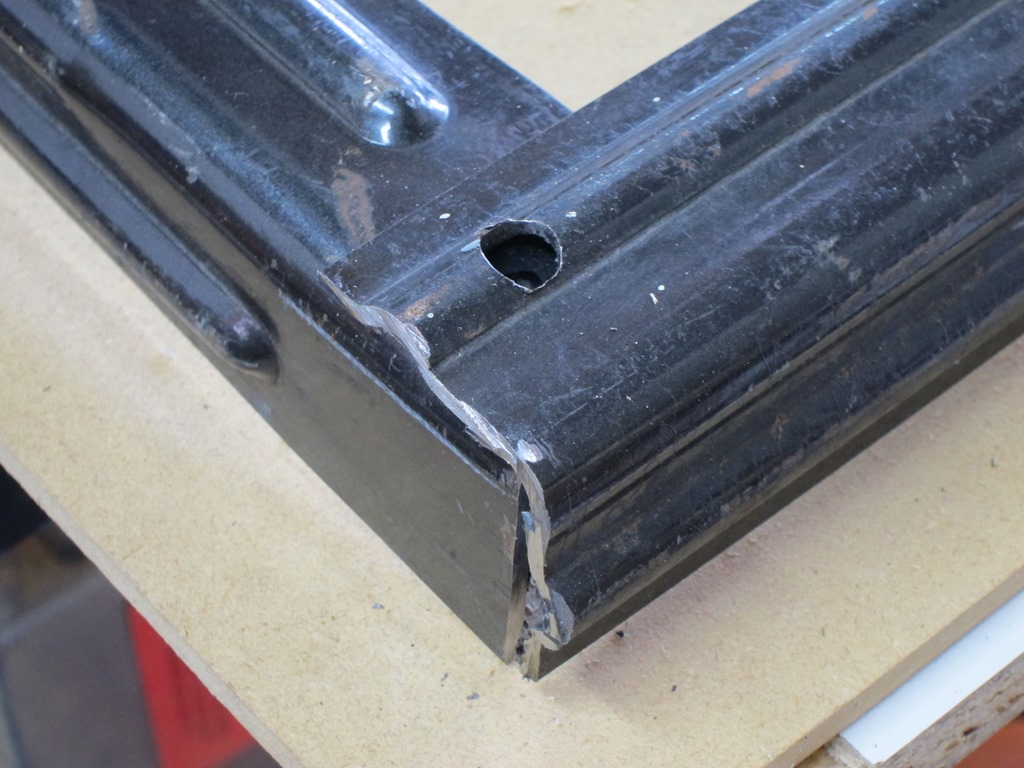
Next, I need mounting holes in the corner that the casters can go through. The fluted design of the legs made this a significant pain in the ass, even with a drill press. Here’s the first hole drilled with a 1/8” bit IIRC; I would enlarge it with a 2/8” bit on the way to a 3/8” bit. The drill press is a huge help in this sort of work.
Next it is time to do the layout so I can mark the holes where the metal pieces will overlap and connect:
This is really not precision work, though I will note that I realigned this corner because the two pieces should be symmetrical:
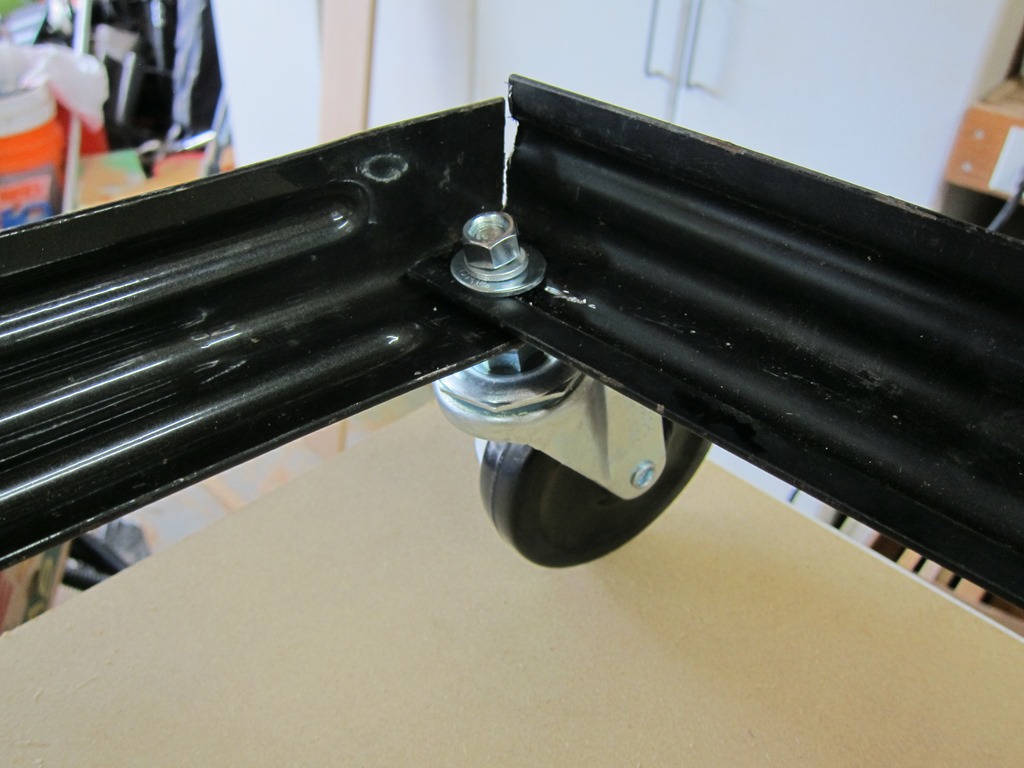
Then, it was back to drill 12 more holes (three pass x four pieces), and then it was time for assembly, in which our caters finally make an appearance:
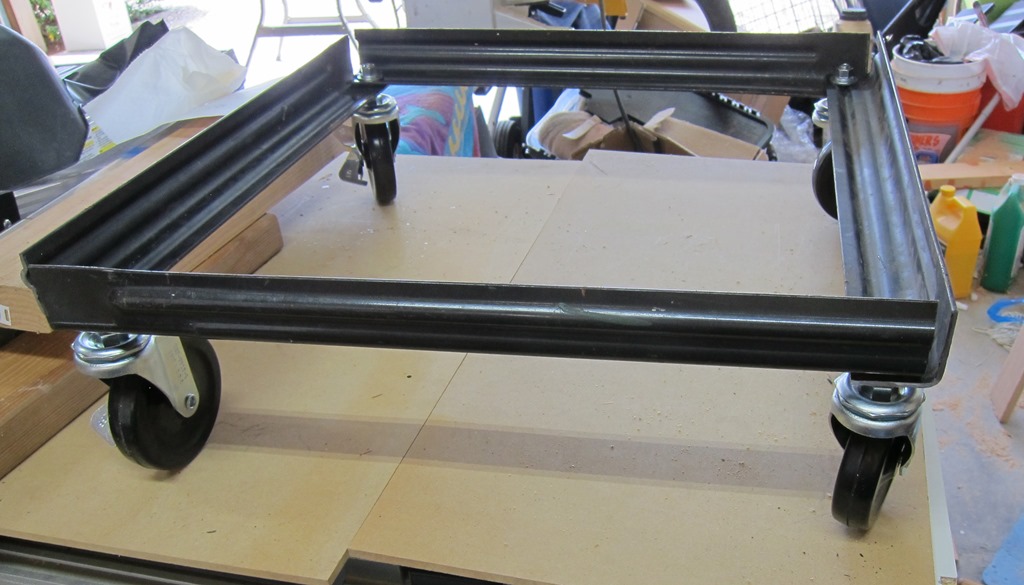
Tighten up all of the nuts, and we have a frame:
I had toyed with the idea of painting a stainless steel color, but I’m cheap and lazy, so it’s like this for now.
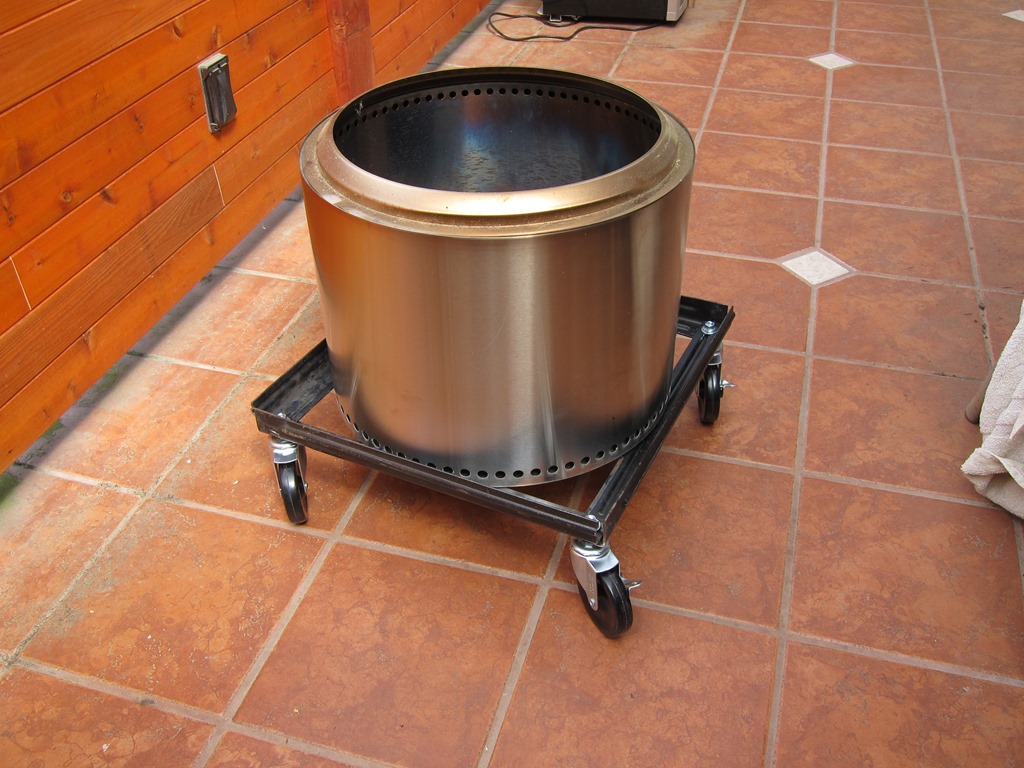
Beauty shot of the Solo Stove sitting in its new frame:
Total cost was $2.09 for a new metal cutting blade and about $2.00 for 8 nuts, 4 flat washers, and 4 lockwashers.


I live near Federal Way… Can you make me one? 🙂